
A DIY Guide to Repairing Bubbles in Your Acrylic Sealer
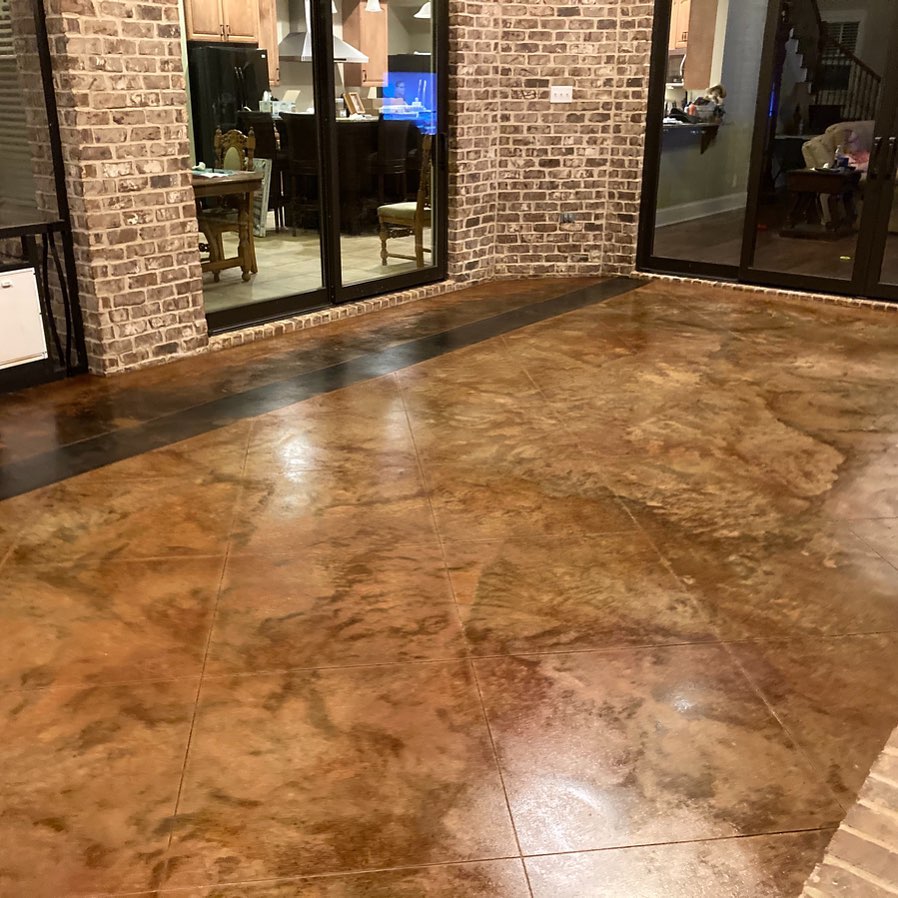
Bubbles in your solvent based acrylic sealer can turn a smooth outdoor concrete sealing job into a frustrating mess. You've followed the steps, but those pesky bubbles keep showing up, ruining the finish. This guide breaks down why these acrylic sealer problems happen and how repairing sealer bubbles can bring your project back to life with simple sealer application tips you can trust. For more detailed information on fixing concrete sealer bubbles, check out this helpful resource: https://www.concretesealerreview.com/how-to-fix-concrete-sealer-bubbles/.
Understanding Acrylic Sealer Bubbles
Let's dive into the bubble trouble. You're not alone in this sticky situation – many DIYers and pros face similar challenges with outdoor concrete sealing.
Causes of Bubbles in Sealer
Bubbles in your solvent based acrylic sealer often pop up due to sneaky culprits. High temperatures can make the sealer dry too fast, trapping air. Applying the sealer too thick is another common mistake. It prevents proper curing and leads to bubble formation.
Moisture is also a big troublemaker. If your concrete isn't bone-dry before sealing, you're asking for bubble trouble. Even tiny amounts of moisture can cause the sealer to bubble and lift.
Lastly, don't overlook your tools. A low-quality roller or sprayer can introduce air into the sealer as you apply it. This extra air turns into those pesky bubbles you're trying to avoid.
Repairing Sealer Bubbles
Don't panic if you spot bubbles – there's hope! With the right approach, you can smooth out those bumps and get back on track.
Step-by-Step Repair Guide
-
Assess the damage: Take a close look at the bubbled areas. Are they small and scattered, or large and widespread?
-
Clean the surface: Use a broom or leaf blower to remove any dirt or debris from the bubbled area.
-
Soften the sealer: Apply a small amount of xylene or acetone to the bubbled spots. This will help reactivate the sealer.
-
Roll it out: Use a 3/8-inch nap roller to gently roll over the softened areas. This helps pop the bubbles and smooth out the sealer.
-
Let it dry: Give the repaired spots at least 24 hours to dry completely before walking on them.
For stubborn bubbles, you might need to strip the sealer entirely and start fresh. This process involves using a chemical stripper and pressure washing. It's more work, but sometimes it's the best way to get a smooth finish.
Tools and Materials Needed
To tackle this repair job, you'll need a few key items:
-
Xylene or acetone (for reactivating the sealer)
-
3/8-inch nap roller
-
Chemical-resistant gloves
-
Safety goggles
-
Respirator mask (for working with solvents)
-
Broom or leaf blower
Make sure you have all these tools on hand before you start. It'll make the process smoother and safer. Remember, safety first when working with chemicals!
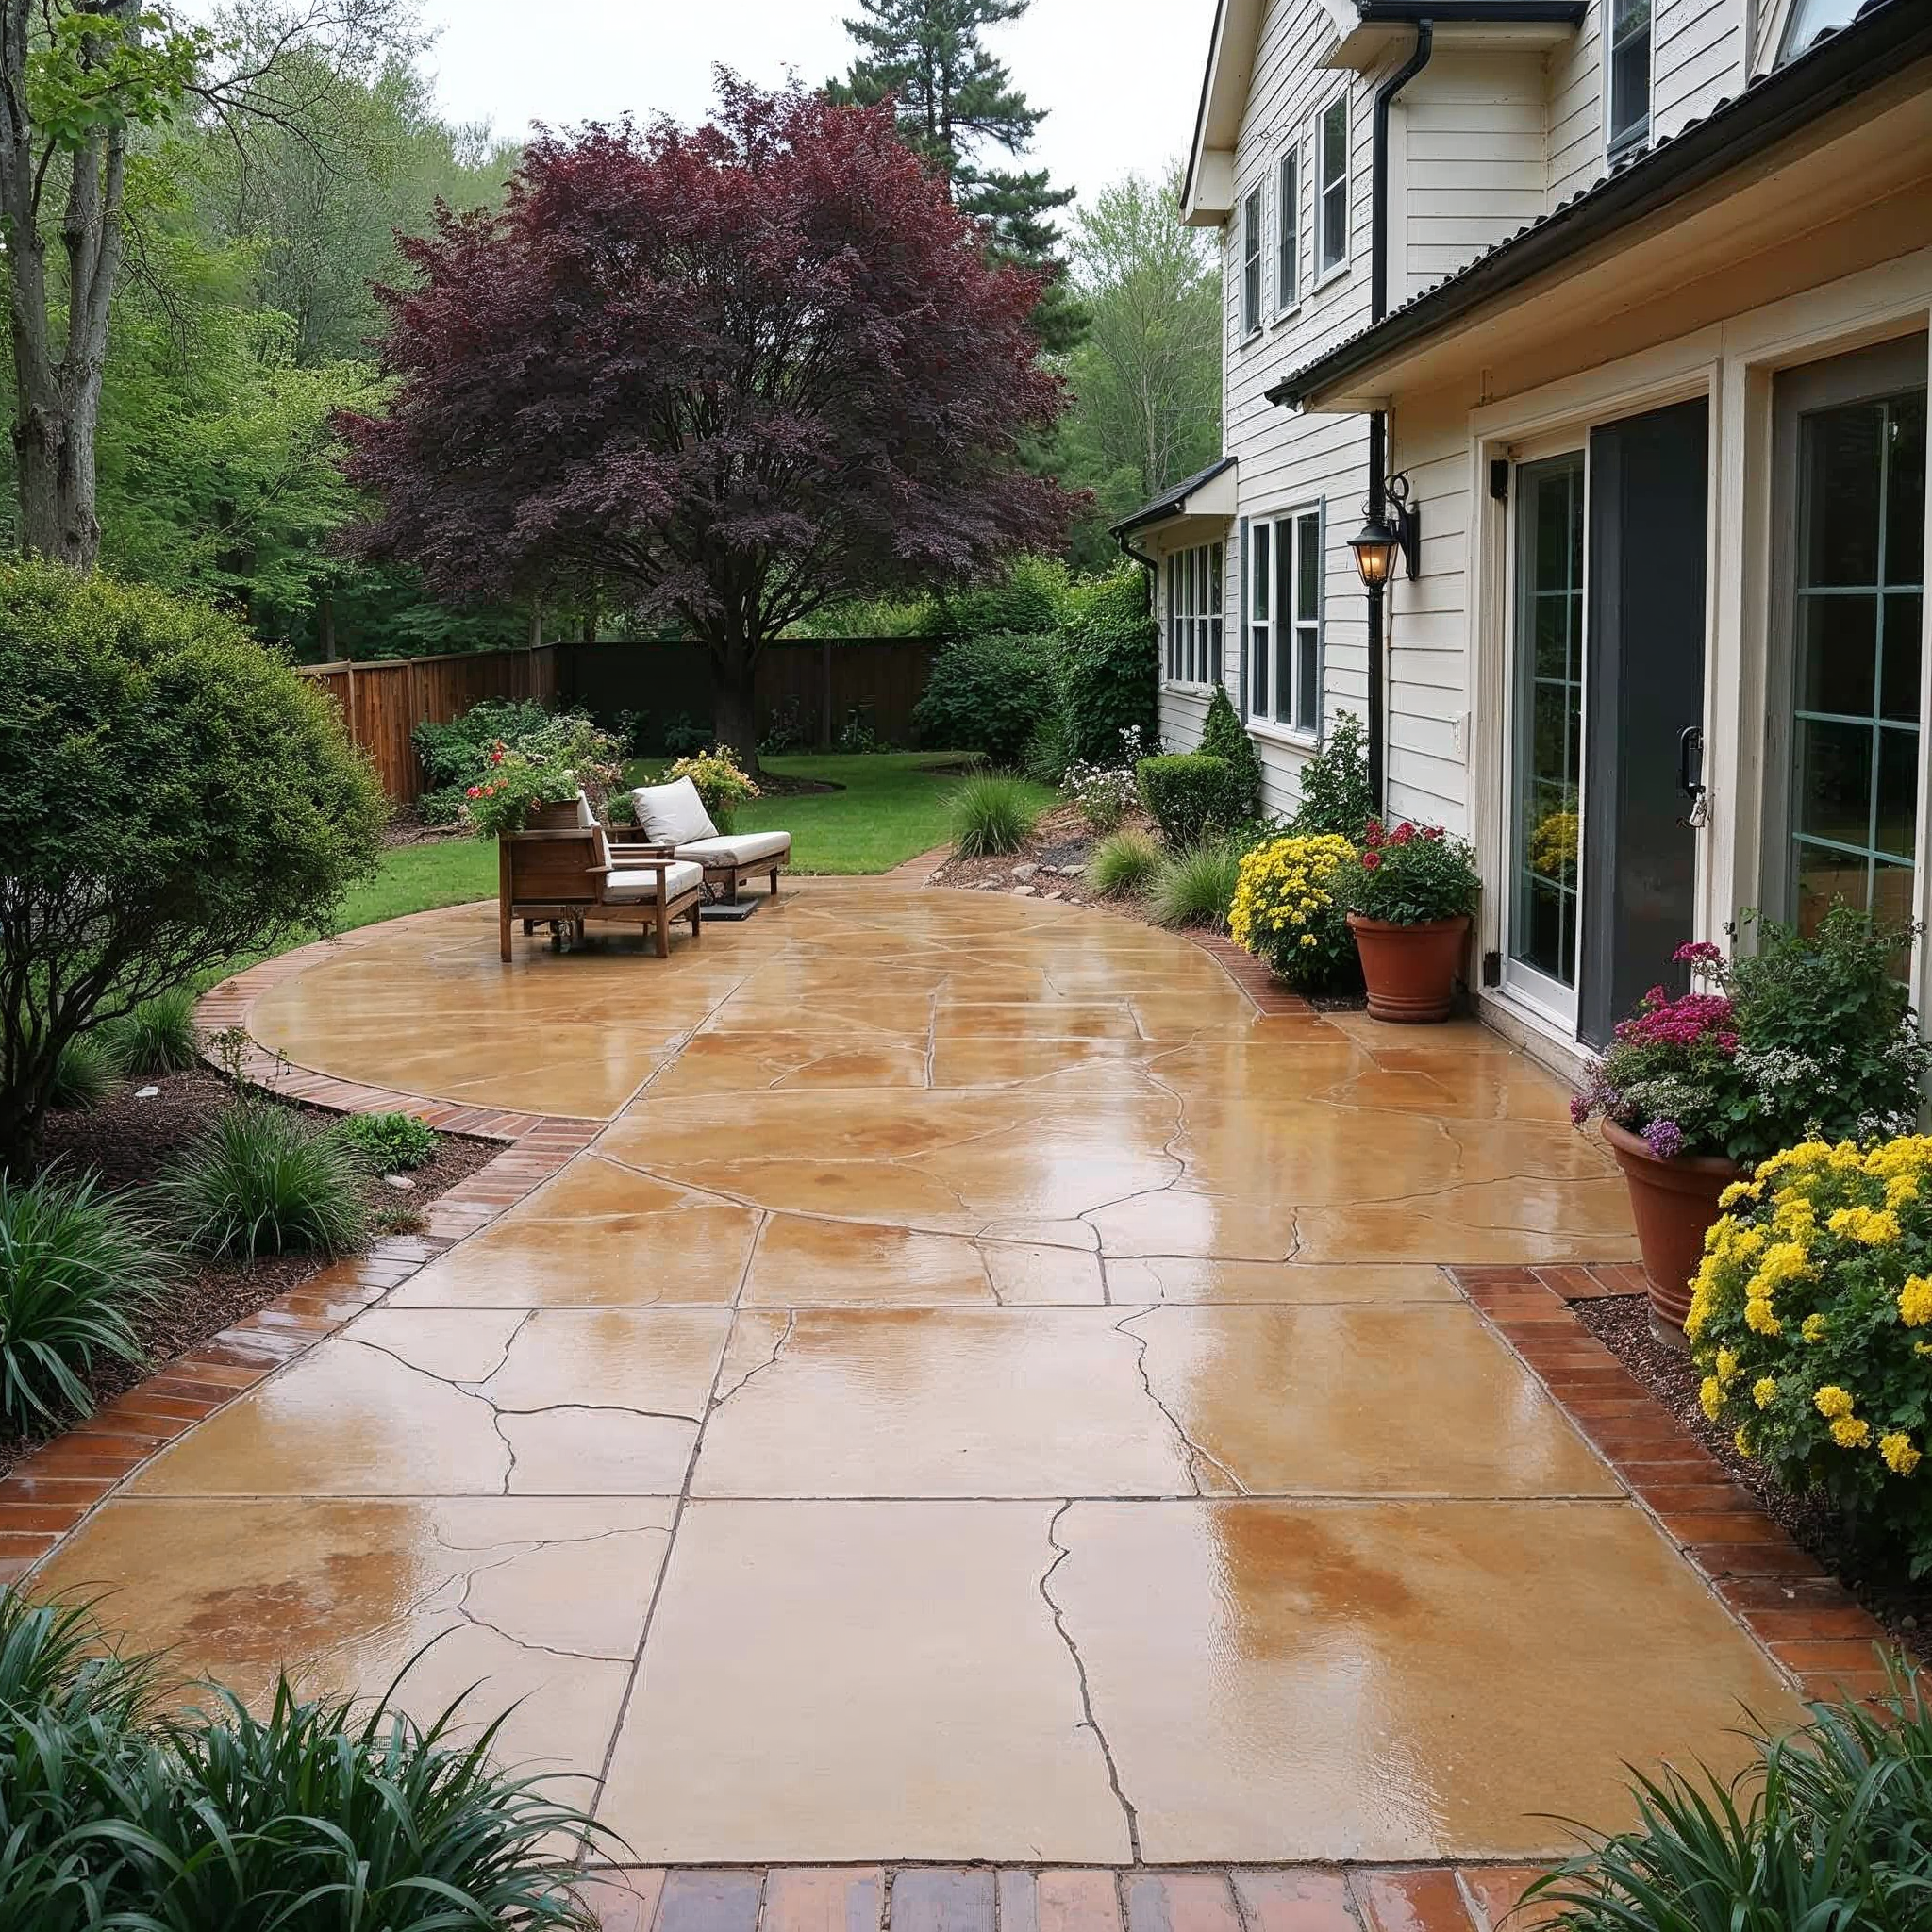
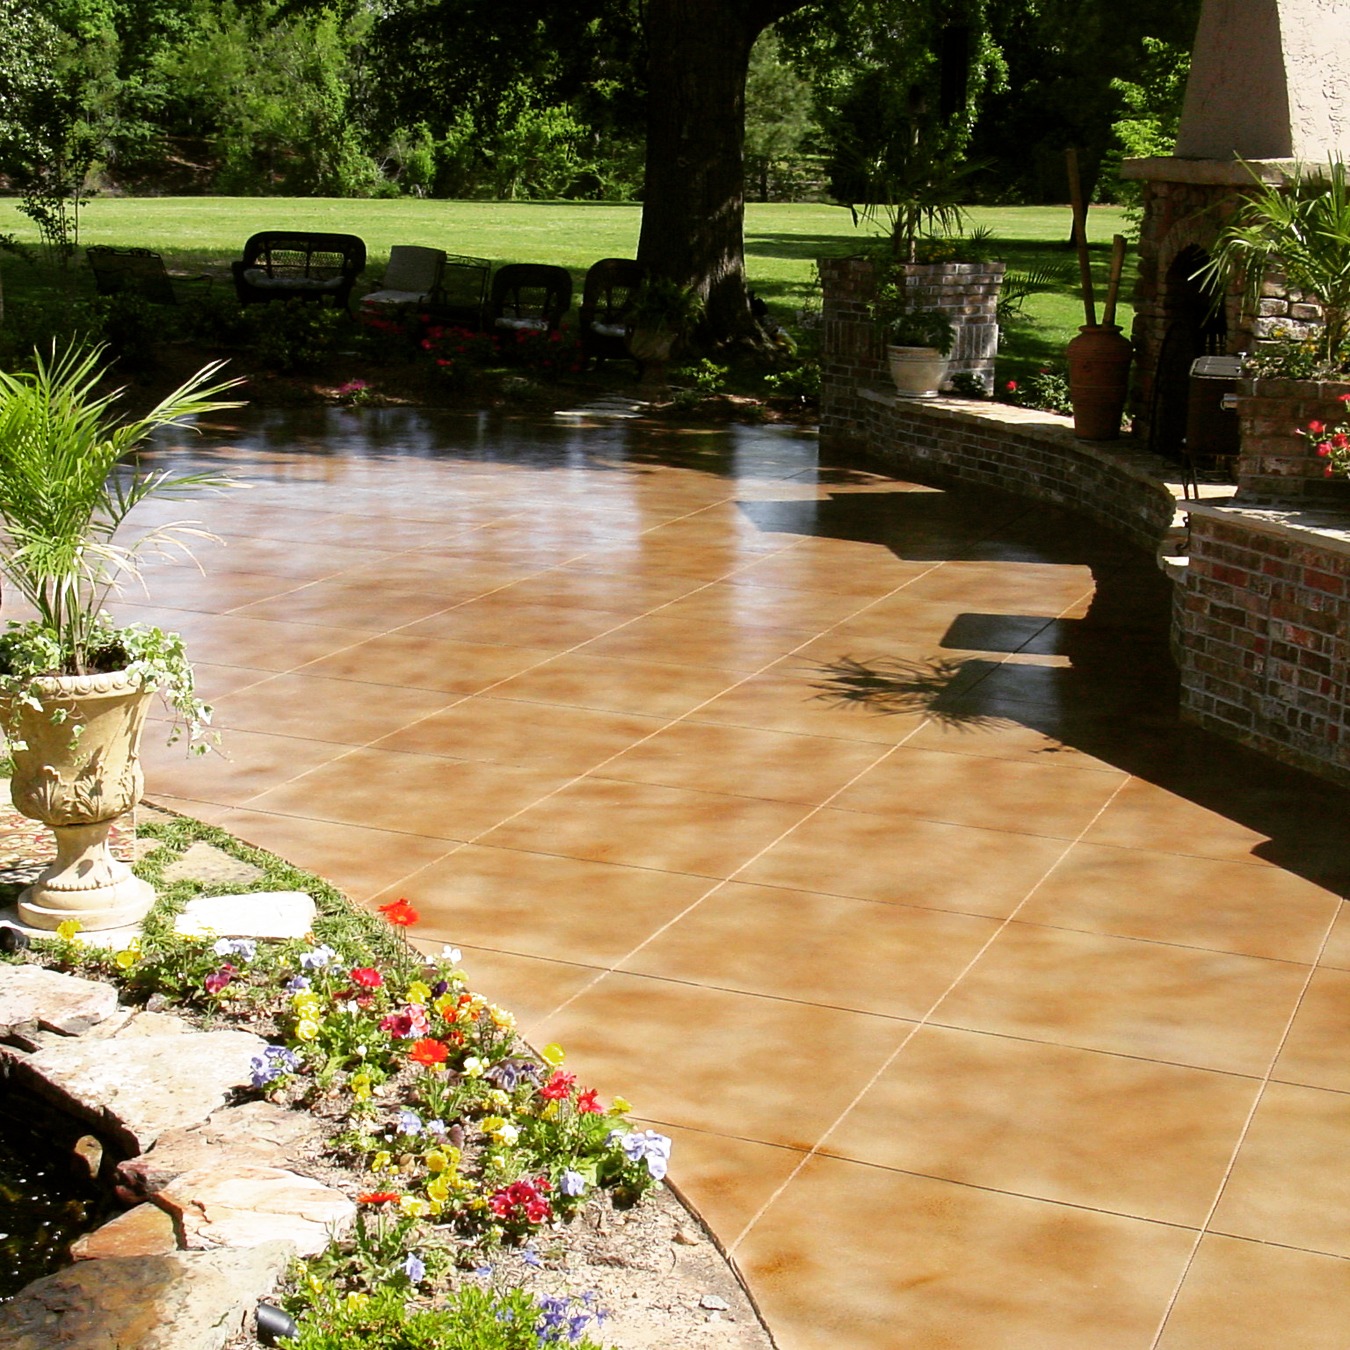
Outdoor Concrete Sealing Tips
Now that we've covered repairs, let's focus on prevention. The right techniques can help you avoid bubbles altogether.
Effective Sealer Application Tips
Timing is everything when it comes to outdoor concrete sealing. Pick a day with mild temperatures – not too hot, not too cold. Early morning or late afternoon usually works best.
Thin coats are your friend. It's tempting to slather on a thick layer, thinking it'll provide better protection, but a thin coat allows the sealer to cure properly, reducing the risk of bubbles. Patience is crucial; if more coverage is needed, apply multiple thin layers instead of one thick one.
Always ensure the concrete surface is dry before starting the sealing process. A moisture test a few days before the planned sealing can help avoid any surprises. Additionally, using high-quality application tools like premium rollers or sprayers will minimize air introduction and lead to a smoother finish.
Common Mistakes to Avoid
-
Rushing the process: Take your time with each step to ensure a high-quality finish.
-
Ignoring weather conditions: Be mindful of wind and humidity, as they can affect sealer application too.
-
Skipping the prep work: Proper cleaning and preparation of the surface are vital for successful sealing.
By following these tips and correcting any bubbling issues promptly, your concrete surfaces will not only look great but will also be protected for years to come. Happy s

