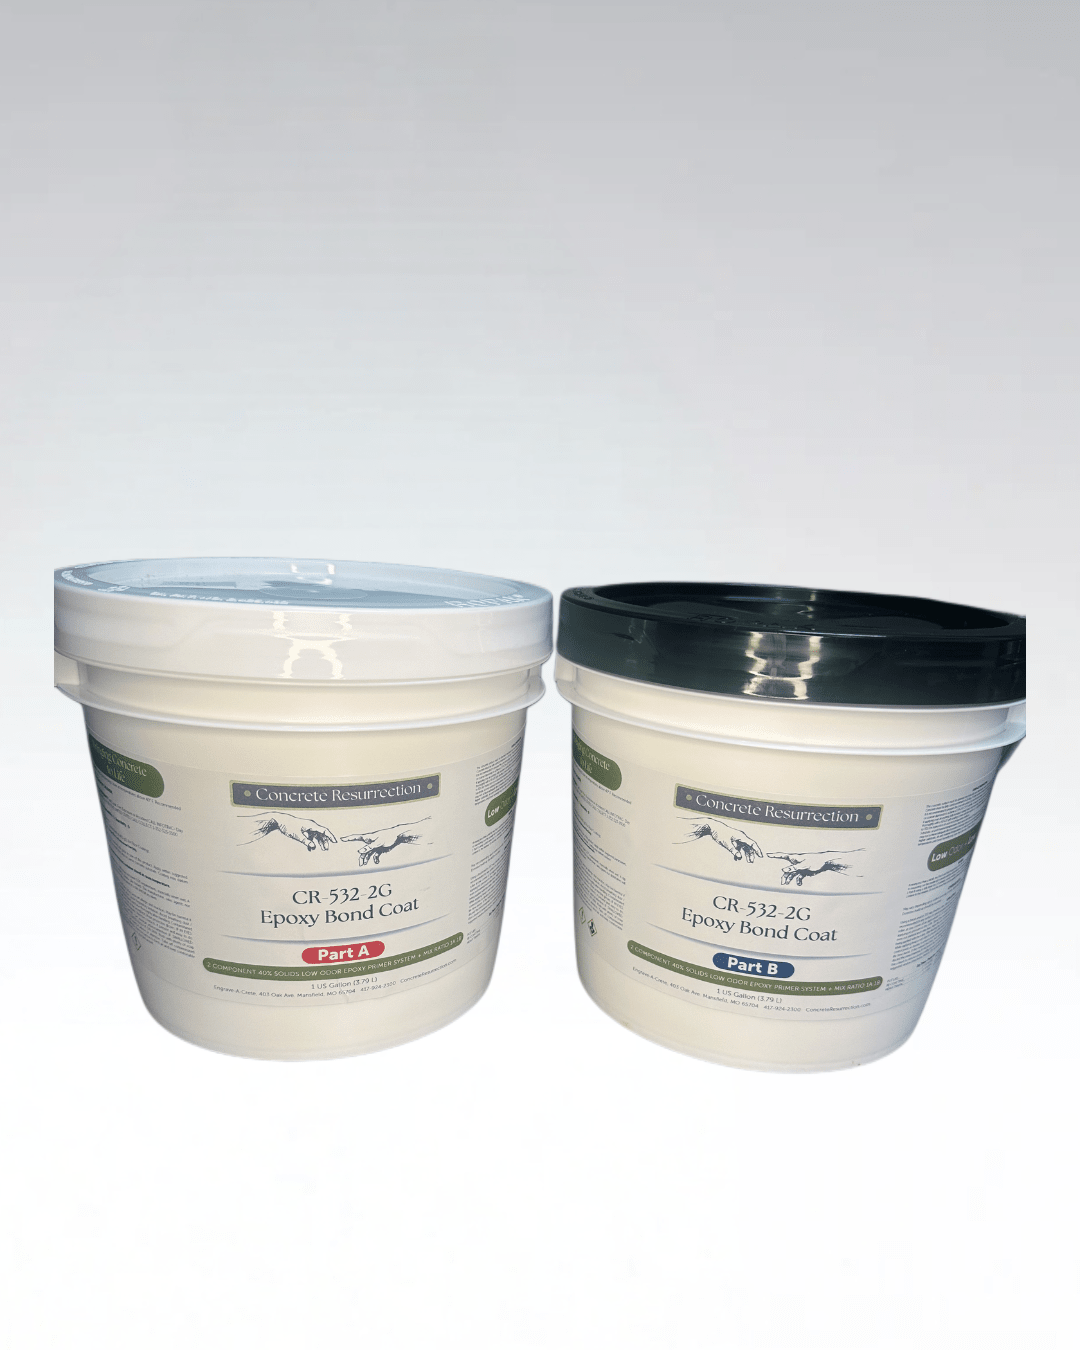
Epoxy Bond Coat – 40% Solids Water‑Based Epoxy Primer
Free shipping $75+
Expert support
Secure checkout
CR‑532 Epoxy Bond Coat is a professional‑grade, water‑based epoxy primer engineered to deliver exceptional adhesion between concrete substrates and high‑performance coating systems. This two‑component formula penetrates deeply into the surface, forming a strong mechanical and chemical bond that stabilizes the slab and prepares it for urethanes, polyaspartics, or additional epoxy layers.
Designed for both residential and commercial installations, CR‑532 provides the reliability installers expect: smooth application, dependable adhesion, and consistent results even on porous or challenging concrete.
Key Features
-
High‑Adhesion Epoxy Primer Creates a durable foundation that enhances the performance and longevity of decorative and industrial coating systems.
-
Water‑Based, Low‑Odor Formula Ideal for interior projects, occupied spaces, and environments where ventilation is limited.
-
Deep Penetration for Surface Stabilization Helps reduce outgassing, improves uniformity, and promotes strong intercoat adhesion.
-
Compatible With Multiple Topcoats Works seamlessly under urethane, polyaspartic, and epoxy systems — perfect for flake floors, metallic epoxy, solid‑color coatings, and commercial finishes.
-
Tintable Only With CR Bond Coat Color Packs CR‑532 is specifically formulated to accept only the Concrete Resurrection Bond Coat Color Packs. These concentrated additives ensure proper dispersion, color stability, and film integrity. Universal tints, paint colorants, or non‑approved pigments must not be used.
-
Fast Recoat Window Keeps projects moving efficiently while maintaining strong interlayer bonding.
Ideal Applications
-
Garage floors
-
Workshops & industrial interiors
-
Retail & commercial spaces
-
Decorative epoxy floors
-
Flake broadcast systems
-
Metallic epoxy installations
Coverage
Coverage varies based on surface porosity, but CR‑532 is formulated to deliver the ideal film build for a high‑performance epoxy primer, ensuring consistent penetration and reliable adhesion.
Built for Professional Results
CR‑532 Epoxy Bond Coat is the go‑to primer for installers who need dependable adhesion and long‑term durability. Whether you’re building a decorative floor system or a heavy‑duty commercial coating, CR‑532 provides the strong foundation required for lasting performance.
For complete mixing ratios, cure times, and application instructions, refer to the Technical Data Sheet.
First Coat - Direct to Concrete 400-600 sqft per kit. Coverage varies with the surface texture of the concrete, temperature of the concrete, and ambient conditions.
The concrete surface must be deemed mechanically and structurally sound, thoroughly clean of debris and completely dry. Concrete must be fully cured a minimum of 28 days.
It is recommended to prepare the concrete surface by mechanical means such as shot blasting or diamond grinding with 30 grit or coarser diamonds to achieve a CSP-2 to CSP-3 profile.
Vacuum concrete surface several times until dust thoroughly removed. If applying over an existing, fully bonded coating that is outside its recommended recoat window, the surface should be sanded thoroughly with a 60-120 grit sanding screen until the surface is completely dulled with scratches.
Vacuum dust thoroughly, rinse with clean water and remove excess water with a wet/dry vacuum or floor scrubber.
Allow surface to dry completely prior to application of coating. Where applicable and with adequate ventilation, wipe the surface with acetone and a microfiber dust mop.
CAUTION: Acetone is extremely flammable! If using acetone follow all safety precautions, make sure no pilot lights, open flames, sources of static electricity, sparks or extreme heat sources are present. Use recommended personal protection for acetone.
If mechanical means of preparation are not suitable, it is recommended to prepare the surface with 4 parts water to 1 part muriatic acid. This preparation method is only suitable for completely un-sealed, bare concrete surfaces.
Apply acid solution evenly on the surface using brushes, mops, brooms or an approved floor scrubber and keep wet on the surface of 10 - 15 minutes. Remove excess acid solution with a wet/dry vacuum of floor scrubber. Rinse surface thoroughly with clean water and on the final rinse use a neutralizing agent to neutralize the surface pH. Inspect the floor to ensure the surface has reached an even and adequate surface profile. Repeat the acid etch and neutralizing steps as necessary to achieve correct profile. Allow the floor to dry thoroughly for 24-72 hours prior to applying this product. ALWAYS use proper personal protective equipment when working with muriatic acid.
Substrate, air and material temperatures must be no less than 50°F and not exceed 80°F. If applied outside these limits the coating may not achieve adequate film formation and may have excessive air entrapment, bubbles, blushing or hazing. Please note that higher substrate, air and material temperatures as well as excessive humidity may speed the cure rate of this product. Cooler temperatures and lower humidity may slow the cure rate of this product.
TINTING: Tint with Bond Coat Color Pack (refer to TDS prior to use). 32 oz. per 2 gallon kit is suggested for a solid, opaque finish. Always add color to Part A and drill mix for 2-3 minutes prior to blending A and B. Color may settle during long term storage and be difficult to redistribute. Always test for color acceptance prior to full application. Multiple coats may be necessary for total opacity. Refer to physical Bond Coat Color Pack chart for color selection.
MIXING: If mixing less than a full kit, mix Part A and Part B separately with a stir stick, low speed mixer or vigorously shake containers prior to measuring out the smaller kit to ensure uniform distribution of all ingredients. In a clean mixing container, blend 1 Parts A and 1 Part B using a drill mixer for 2-3 minutes. Avoid creating a vortex in the material which could introduce air and/or moisture content to the mixture. Do not mix more than can be applied within the usable pot life time frame. DO NOT THIN!
Using a brush and/or 3/8" nap shedless roller, dip and roll the mixed material from a roller pan. 18" rollers are recommended for any surface to speed up application time and reduce roller marks.
Start by placing the wet roller at one corner of an approximate 4' x 4' square and roll the material at an angle to opposite corner applying no pressure to the roller. Spread the material across only that square and immediately back-roll to even out material and roller lines. Adjust the size of your square as needed based on the amount of material being applied with the roller. After finishing the square, move on to the next square using the same technique. While applying keep a wet edge to prevent roller marks. It is recommended to work in sections usually using control joints as dividers to ensure proper application results. Apply the mixed material within the usable pot life time frame. If the material becomes thick while applying and sticking to the roller, stop applying and discard the mixed material. At this point it has reached the end of the usable pot life. Do not allow to puddle! Use a brush to remove excess coating in joints. An airless or HVLP sprayer may also be used.
RECOATING: Note that for best results it is recommended to re-coat Epoxy Bond Coat as soon as one can walk onto the surface without imprinting or making an impression on the surface, typically 4 - 6 hours. (This is especially true when re-coating with 100% solids epoxy.) If possible, recoat within the suggested recoat window located on page 1. Apply additional coats in the same manner as the first coat. Note that higher substrate, air and material temperatures as well as excessive humidity may greatly reduce the acceptable recoat window of this product. When working in higher temperatures, always recoat as early in the recoat window as possible to avoid failure between coats. If recoating outside the suggested recoat window (see page 1) or beyond 24 hours, sand using a 220 grit or coarser sanding screen to ensure adequate adhesion between coats. Vacuum dust thoroughly, rinse with clean water and remove excess water with a wet/dry vacuum or floor scrubber. Allow surface to dry completely prior to application of coating. Where applicable and with adequate ventilation, wipe the surface with acetone and a microfiber dust mop.
CAUTION: Acetone is extremely flammable! If using acetone follow all safety precautions, make sure no pilot lights, open flames, sources of static electricity, sparks or extreme heat sources are present. Use recommended personal protection for acetone.
PLEASE NOTE: Applying material outside the suggested parameters may result in product failure. It is always recommended to test the product in a small, inconspicuous area (on the same concrete substrate) for desired results prior to application. Coverage rates may vary for all coatings and substrates depending on porosity, density, texture etc. When applying, adhere to suggested coverage rates. Applying too thin of a coating may cause inadequate film formation, limited performance expectations and/or undesirable finish. Applying too thick may result to bubbling, hazing, etc. DO NOT USE ON BRICK.
Choose options
Free shipping $75+
Expert support
Secure checkout