
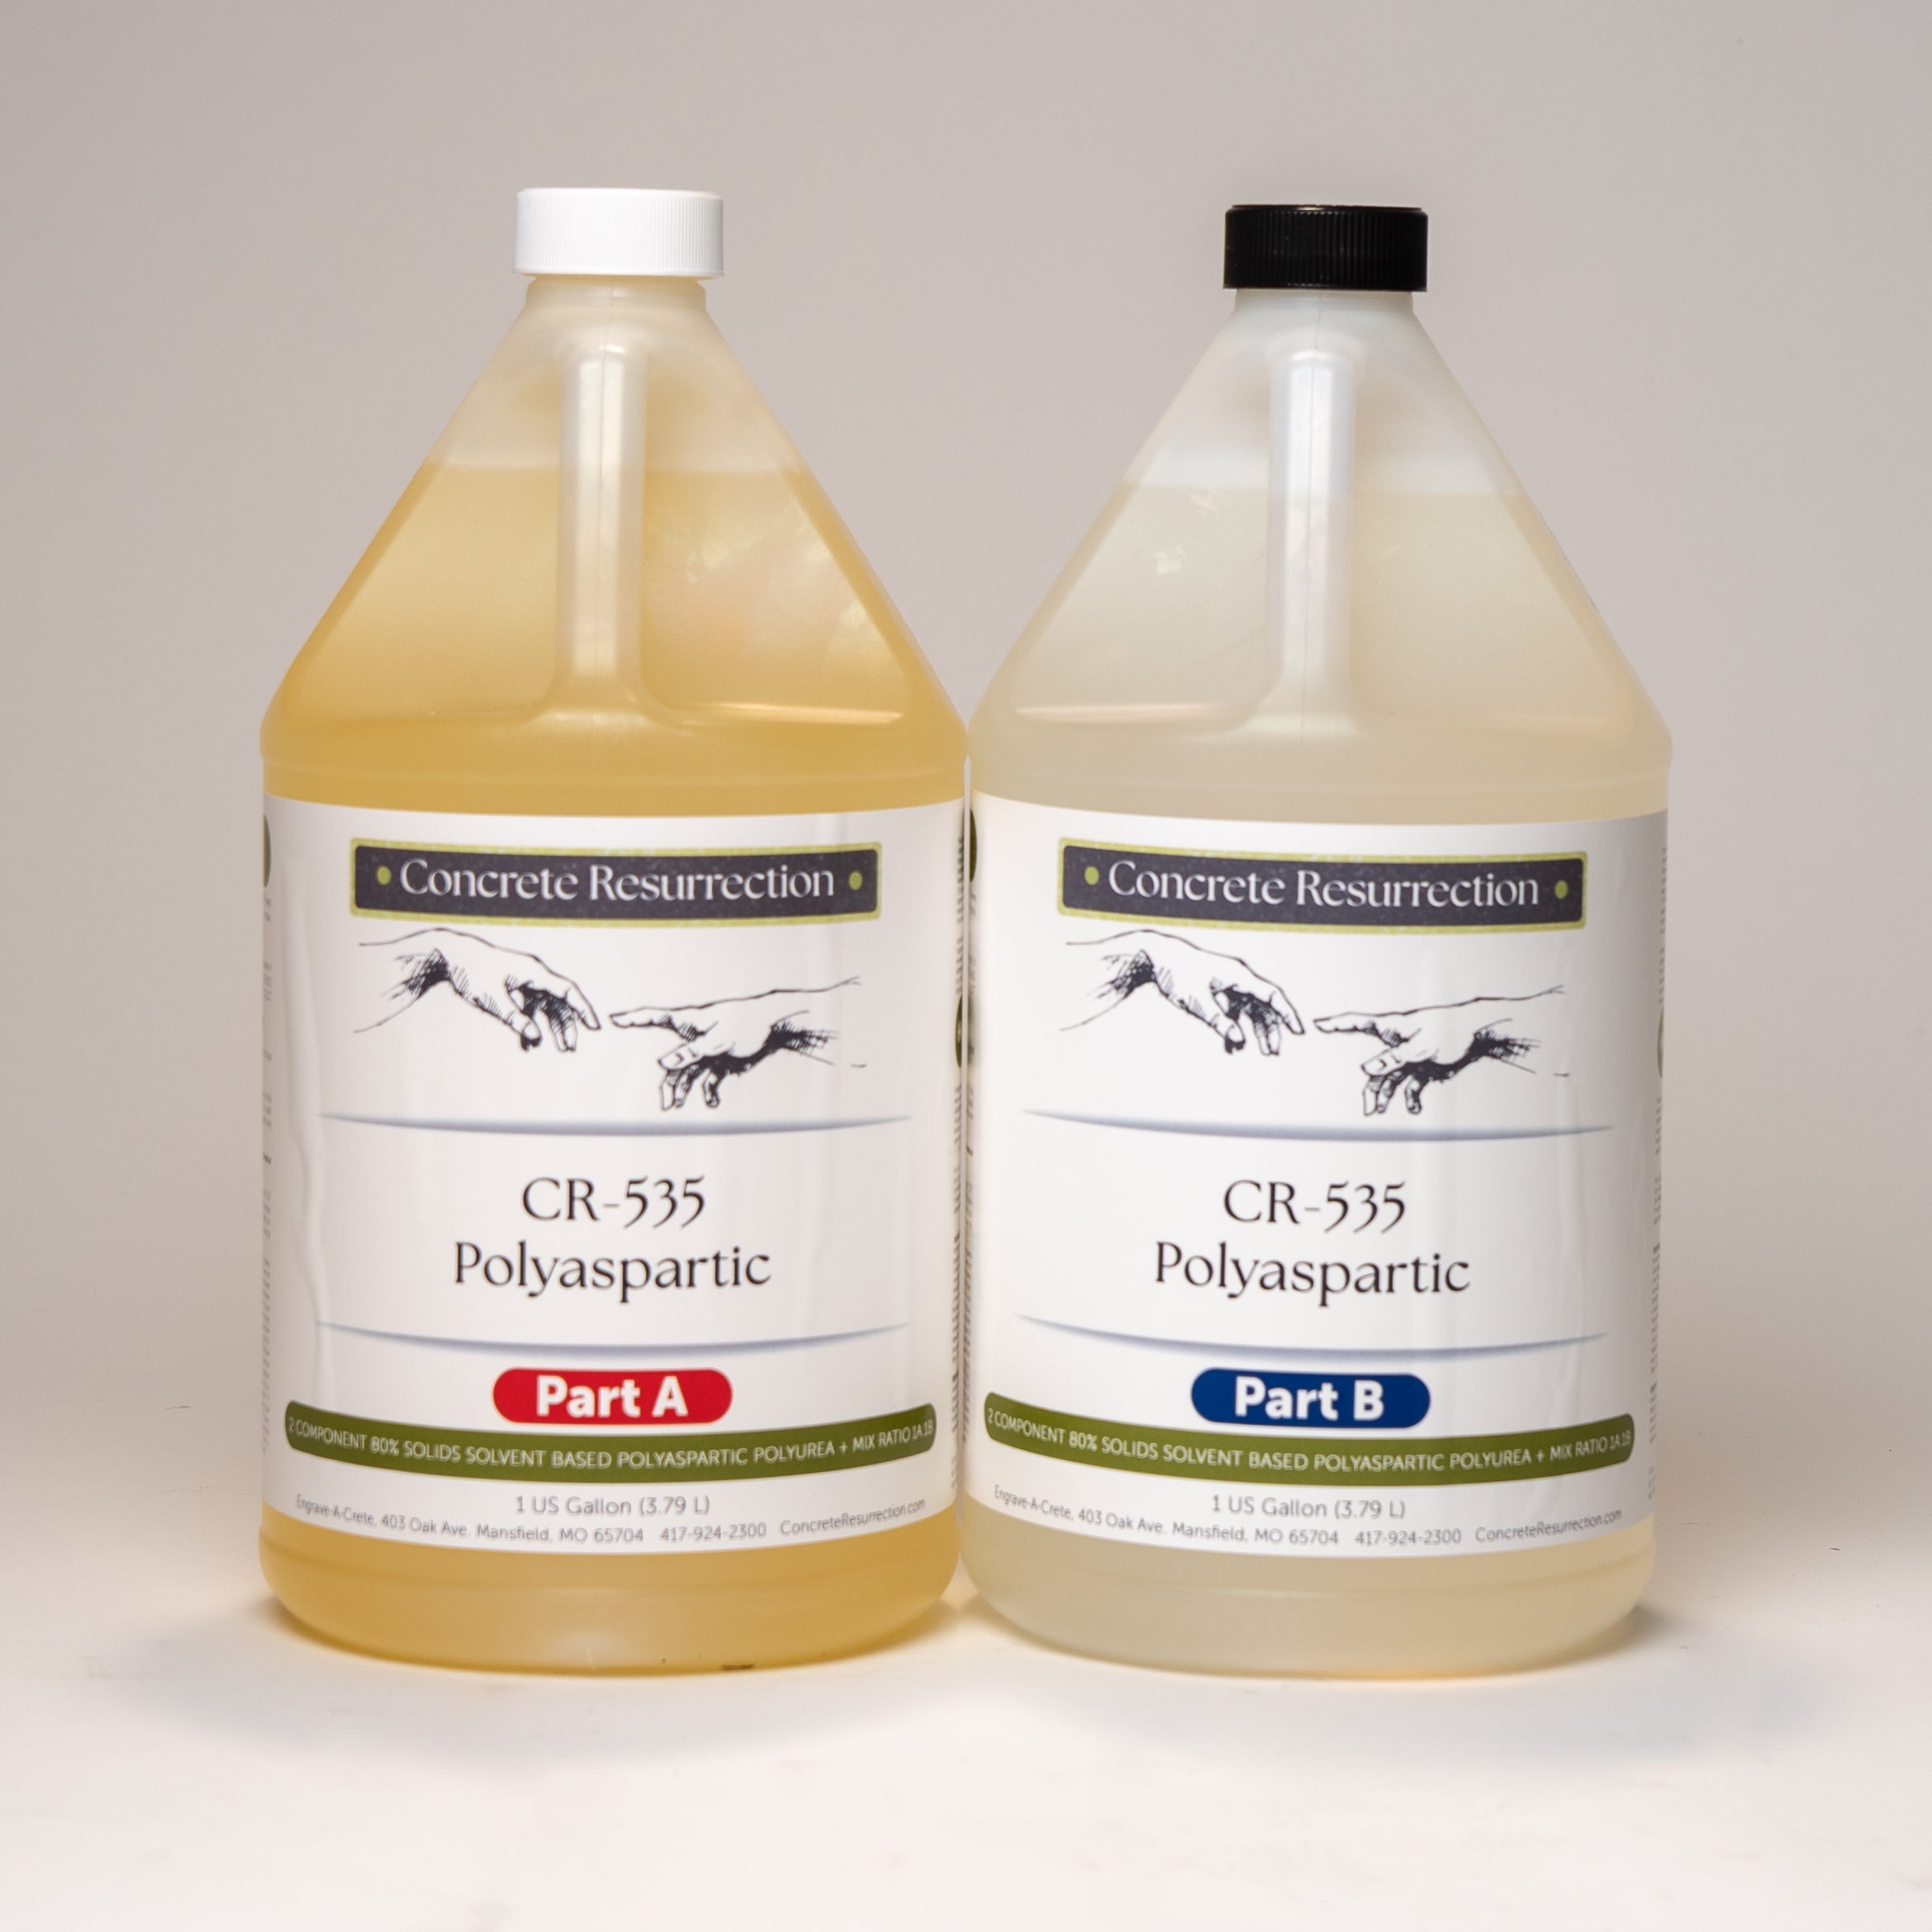
Polyaspartic
Concrete Resurrection Polyaspartic is the ultimate solution for elevating the appearance and longevity of concrete, natural stone, and other cementitious surfaces. Engineered for exceptional performance, this innovative coating delivers a remarkably high gloss shine that not only enhances aesthetic appeal but also provides robust protection against harsh environmental conditions, including UV rays, freeze/thaw cycles, and hot tire pick-up.
What sets Polyaspartic apart is its quick curing capability, allowing for foot traffic within 3-4 hours and the ability to recoat in just 2-3 hours, all while achieving full cure within 24 hours. This efficiency means less downtime and more opportunities to maximize profit. The superior penetration and bonding strength ensure that it holds tight to the surface, resulting in fewer callbacks, making it a reliable choice for professionals.
Each kit covers an impressive 200-600 square feet and features crystal-clear, high-gloss results without the risk of blushing from moisture. Notably, this coating exhibits exceptional stain resistance, effectively repelling chemicals, oils, and other contaminants while offering unparalleled abrasion, impact, and wear resistance that surpasses traditional epoxy or urethane options.
The user-friendly two-component system simplifies the mixing process, and it can be applied conveniently at temperatures ranging from 40°F to 85°F. With a film build of up to 6 mil, the surface protection increases significantly, providing additional peace of mind. Whether for interior or exterior projects, Concrete Resurrection Polyaspartic adapts effortlessly, ensuring flexibility in scheduling.
As a high-quality product with 80% solids and only 250 g/l VOCs, it combines performance with environmental consciousness. However, safety precautions must be noted as the product is flammable. Upgrade your surfaces with confidence using Concrete Resurrection Polyaspartic, where durability meets sophistication.
Caution: Concrete Resurrection Polyaspartic is flammable and susceptible to ignition. See TDS for Precautions and Limitations.
Choose options
Frequently Asked Questions
The amount of Concrete Resurrection Polyaspartic you will need depends on the condition and texture of your concrete, as well as how thickly the coating is applied.
As a general rule, expect approximately 250–400 square feet of coverage per gallon, per coat.
- Porous or rough concrete: Expect coverage toward the lower end of the range.
- Smooth or previously coated concrete: Coverage may be closer to the higher end of the range.
- Broadcast flake floors: The topcoat may require additional material because the texture created by the flakes increases the surface area.
Keep in mind that coverage rates are estimates. Concrete porosity, surface texture, application method, and coating thickness can all affect how far the product will go.
DIY Tip: Measure the length × width of your floor to determine the total square footage. When deciding how much Polyaspartic to purchase, allow a little extra for edges, joints, surface texture, and normal application loss. It's much better to have some material left over than to run out in the middle of a section.
Good surface preparation is one of the most important steps when applying Concrete Resurrection Polyaspartic. The concrete needs to be clean, dry, porous, and properly prepared so the coating can bond to the surface.
1. Start with a Clean Floor
Remove dirt, dust, oil, grease, wax, paint, old sealer, and anything else that could prevent the Polyaspartic from bonding to the concrete.
2. Diamond Grind the Concrete
For best results, we recommend diamond grinding the floor. Grinding removes weak surface material and opens the pores of the concrete, creating a lightly textured surface for the coating to grab onto.
You don't need to aggressively remove concrete. The goal is a clean, evenly textured surface with no shiny or sealed areas remaining.
3. Repair the Floor
Fill cracks, chips, spalled areas, or other damage with an appropriate concrete repair product before coating. Allow repairs to cure as directed and grind them flush with the surrounding floor when necessary.
4. Vacuum Thoroughly
After grinding, use a shop vacuum to remove all concrete dust and debris. Pay extra attention to edges, corners, cracks, and control joints.
The floor should be completely clean and dust-free before you begin coating.
5. Make Sure the Concrete Is Dry
Do not apply Polyaspartic over wet or damp concrete. Concrete should be completely dry and free of moisture before coating.
What if my floor already has a coating or sealer?
Existing paint, sealer, or coating that is loose, peeling, or incompatible should be removed. A compatible coating that is firmly bonded may require cleaning and mechanical sanding or grinding before recoating.
When you're unsure what is currently on the floor, removing the existing coating and preparing the concrete by diamond grinding is the safest approach.
DIY Tip
Not sure whether your concrete has a sealer on it? Sprinkle a little water in several areas. If the water beads on top instead of darkening and absorbing into the concrete, there may still be a sealer or coating present.
Easy rule to remember:
Clean it → Grind it → Repair it → Vacuum it → Make sure it's dry → Coat it.
Taking the time to properly prepare your concrete will help your Polyaspartic coating bond better and give you a more durable, professional-looking finish.
Polyaspartic is easy to roll on, but it cures quickly, so preparation is important. Have your floor prepped, tools ready, and application plan in place before mixing Parts A and B.
1. Plan Your Work Area
Divide the floor into manageable sections. Control joints and saw cuts make great natural stopping points. Make sure you have a clear path so you don't coat yourself into a corner.
2. Mix Parts A & B
Combine Parts A and B using the mix ratio listed on your product label. Mix thoroughly with a low-speed drill and mixing attachment, scraping the sides and bottom of the container to ensure everything is completely combined.
Mix slowly to avoid whipping air into the coating.
Important: Once Parts A and B are combined, your working time begins. Only mix an amount you can comfortably apply within the product's listed pot life.
3. Cut In Edges
Use a brush or small roller to coat edges, corners, and other areas your main roller cannot easily reach.
Don't get too far ahead when cutting in. You want the edges to still be wet when the main floor coating meets them.
4. Pour & Roll
Pour the mixed Polyaspartic onto the floor in manageable ribbons or sections and spread it evenly with a quality, shed-resistant roller.
Work steadily and maintain a wet edge as you move across the floor. Avoid repeatedly rolling areas that have already begun to set.
5. Apply a Thin, Even Coat
Keep the coating uniform across the floor. Watch for puddles or excess material in low spots, cracks, control joints, and textured areas.
Do not allow Polyaspartic to puddle. Heavy areas can cure differently and affect the appearance of the finished floor.
6. Watch Your Working Time
Polyaspartic can begin setting quickly. If the material becomes thick, sticky, stringy, or starts pulling at the roller, stop using it.
Do not try to thin or extend the life of material that has begun to cure. Mix fresh material if additional coating is needed.
7. Applying Additional Coats
If applying another coat, follow the recoat time listed for your Polyaspartic. If you are outside the recommended recoat window, the floor may need to be lightly sanded before recoating to ensure proper adhesion.
Vacuum thoroughly after sanding and make sure the surface is clean and dry before applying the next coat.
DIY Tips for a Better Finish
- Have everything ready before you mix—Polyaspartic won't wait for you.
- Working with two people can make larger floors much easier. One person can cut in and mix while the other rolls.
- Work in small sections and maintain a wet edge.
- Apply evenly—more product isn't necessarily better.
- Don't leave puddles in control joints or low areas.
- Don't over-roll areas that have started to cure.
- Pay attention to temperature and humidity, as both can affect working and cure times.
- Always follow the product label for mix ratio, coverage, pot life, recoat time, and application conditions.
Easy rule to remember:
Get organized → Mix carefully → Work quickly → Keep a wet edge → Roll evenly → Don't overwork it.
Polyaspartic cures quickly, so clean tools and spills immediately while the material is still wet.
For Tools & Equipment:
Wipe away as much excess coating as possible, then clean reusable tools with the recommended solvent listed for the product. Once Polyaspartic has cured, it is extremely difficult to remove and may need to be mechanically scraped or removed.
For Rollers & Brushes:
For most DIY projects, it is usually easiest to dispose of used roller covers and inexpensive brushes rather than trying to clean and reuse them.
For Spills:
Clean accidental spills immediately while the coating is still wet using the recommended cleanup solvent. Do not allow spills to cure on surrounding surfaces.
Leftover Mixed Material:
Once Parts A and B have been mixed, the Polyaspartic will continue to cure. Do not pour leftover mixed material back into either original container. Allow leftover material to cure completely before disposing of it according to local regulations.
DIY Tip: Have your cleanup supplies, trash bags, and extra roller covers ready before you start mixing. Once the Polyaspartic is mixed, you won't want to stop in the middle of your application to look for supplies.