Solid Color Epoxy
Clean + Classic
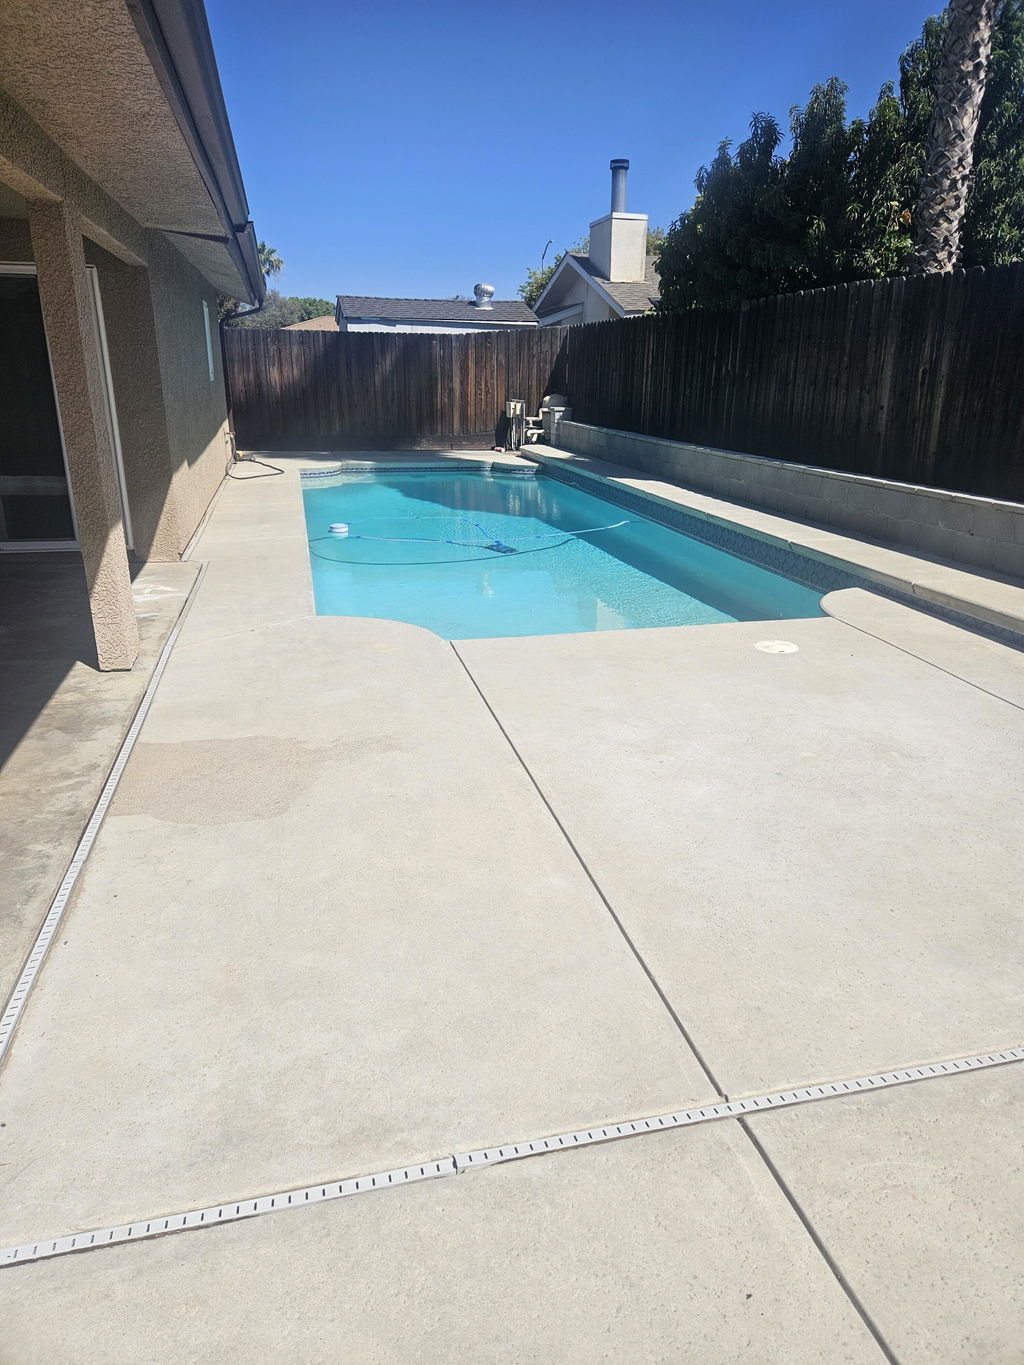
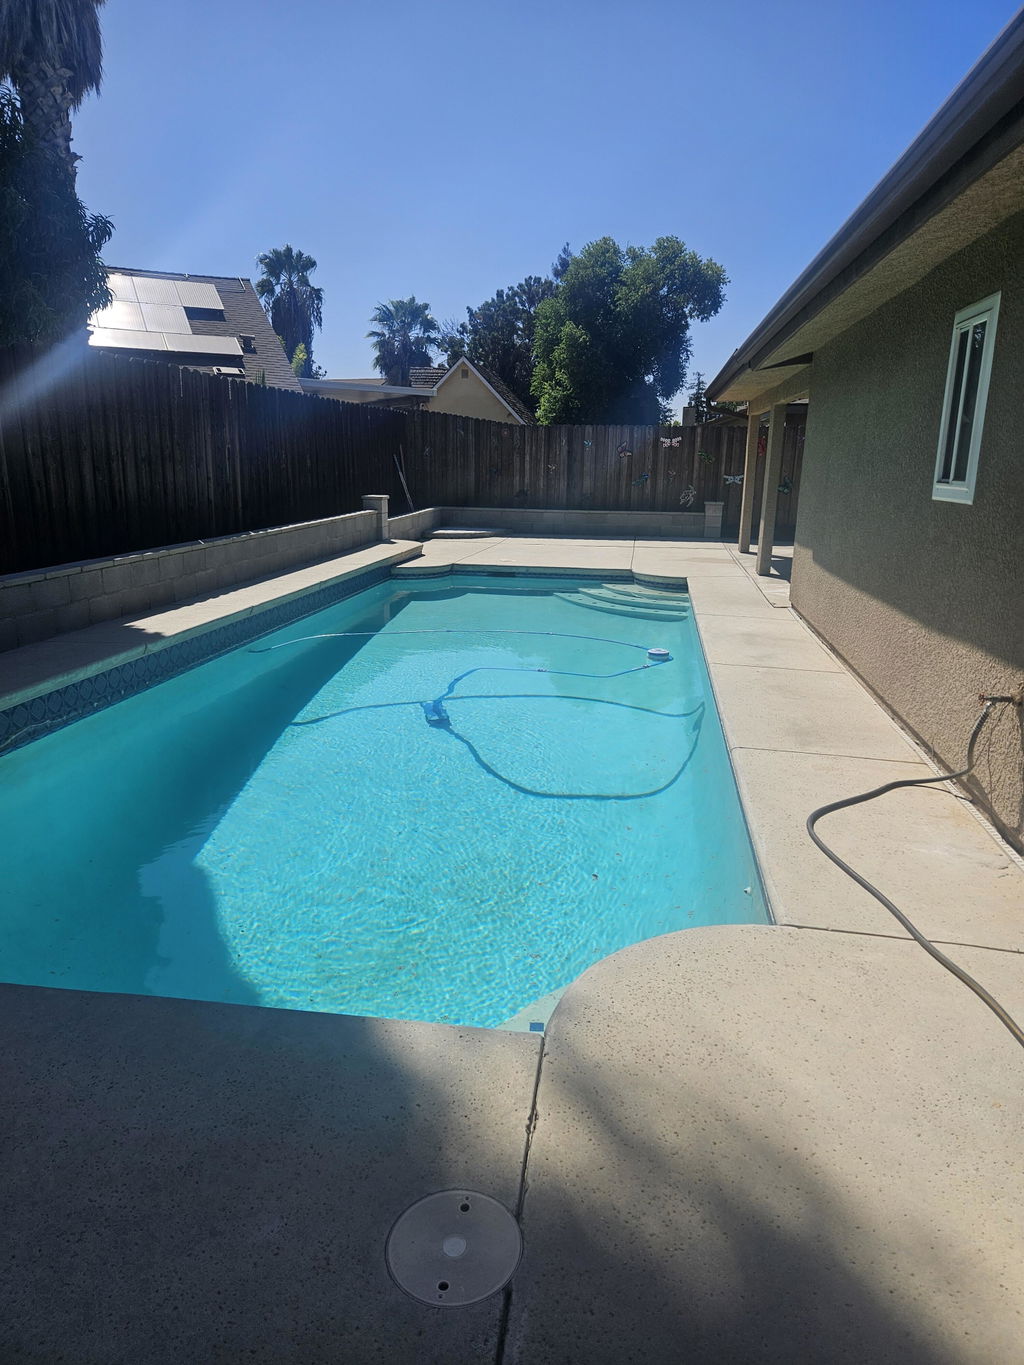
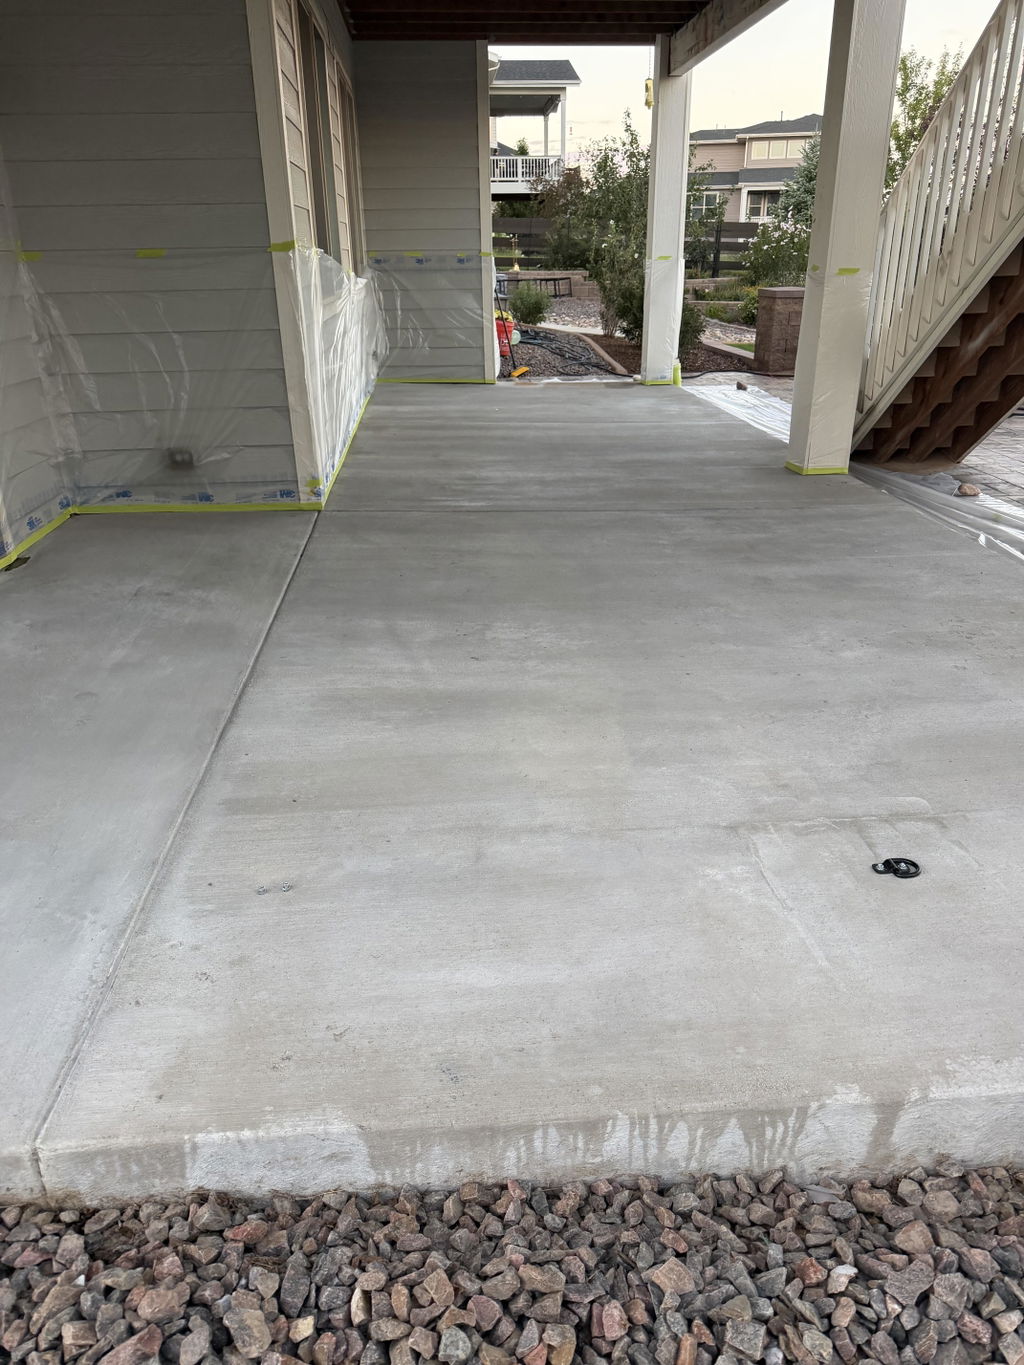
Create a seamless solid-color floor with a clean, professional finished appearance.
- Uniform finished color
- Durable coated surface
- Great for garages and work areas


From clean and classic to bold and one-of-a-kind, choose the epoxy system that fits your space and style.
Create a seamless solid-color floor with a clean, professional finished appearance.

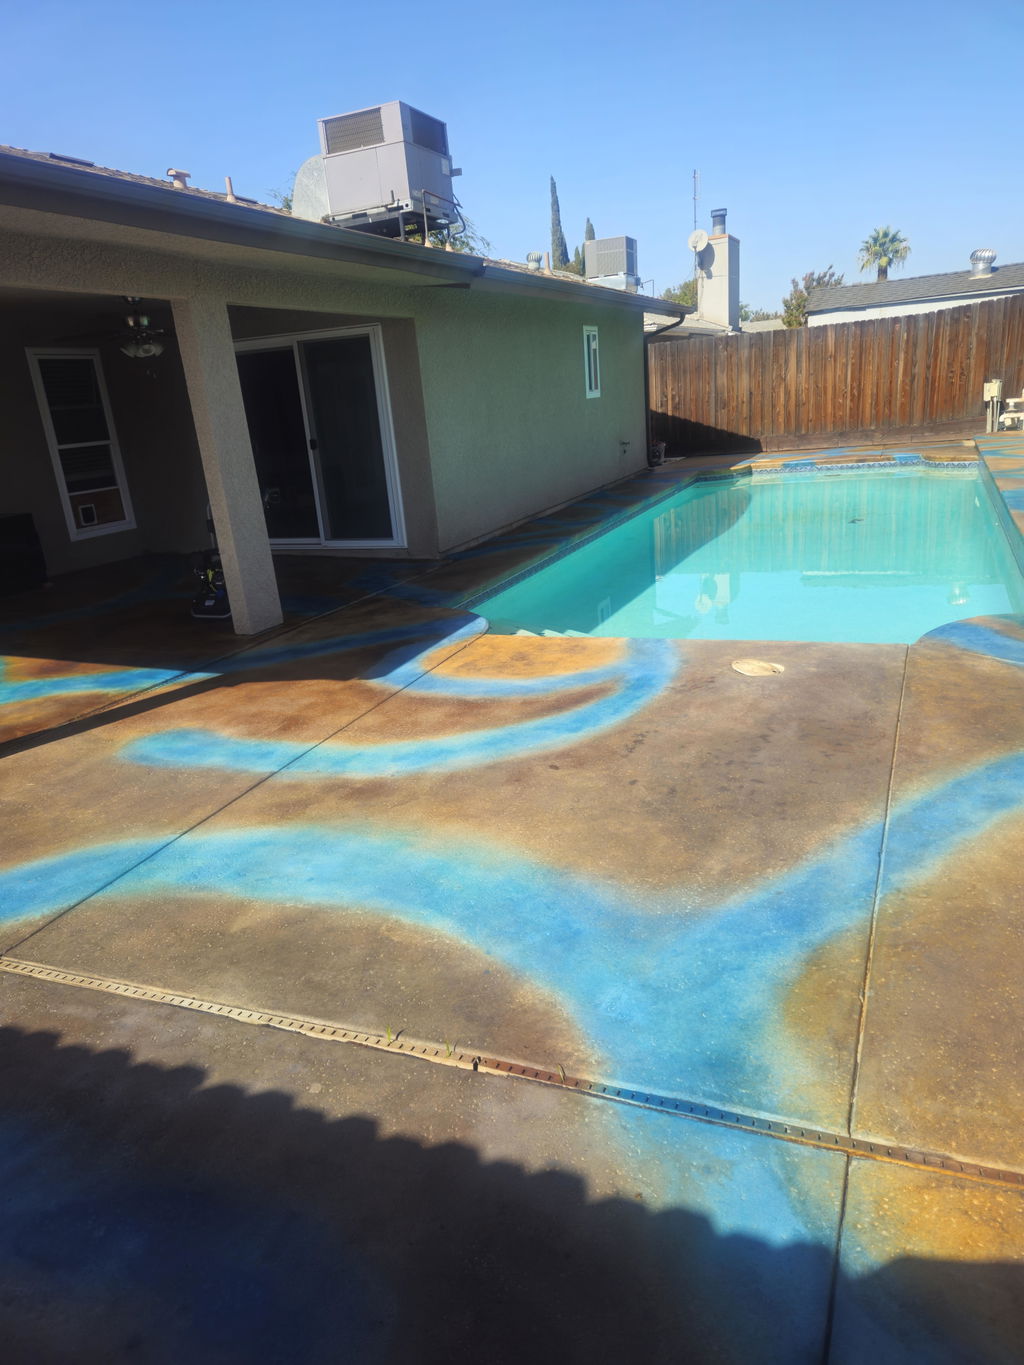
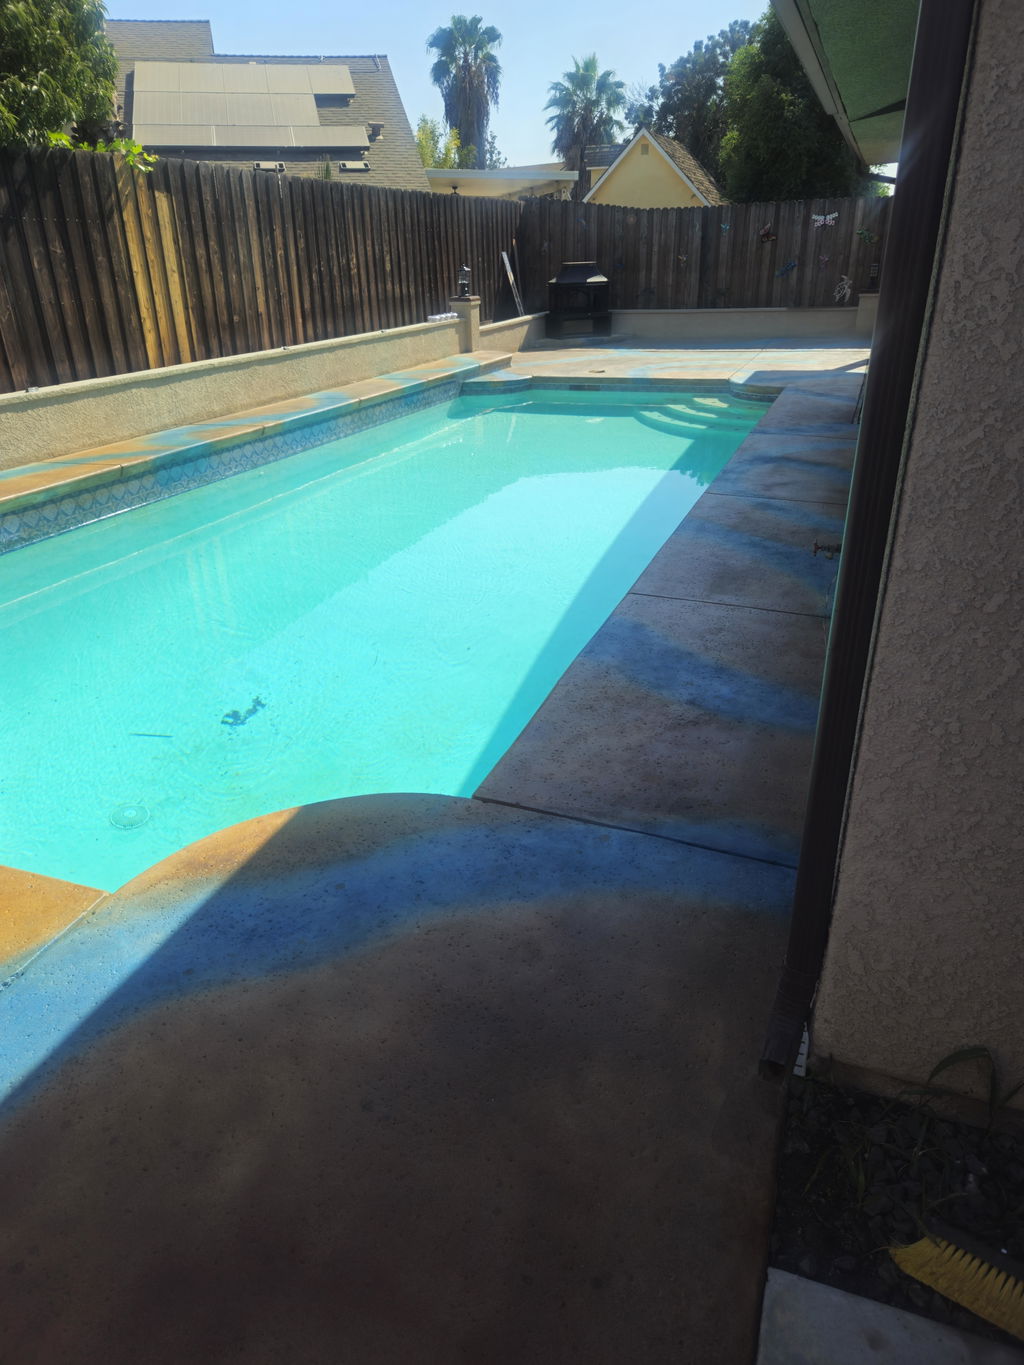
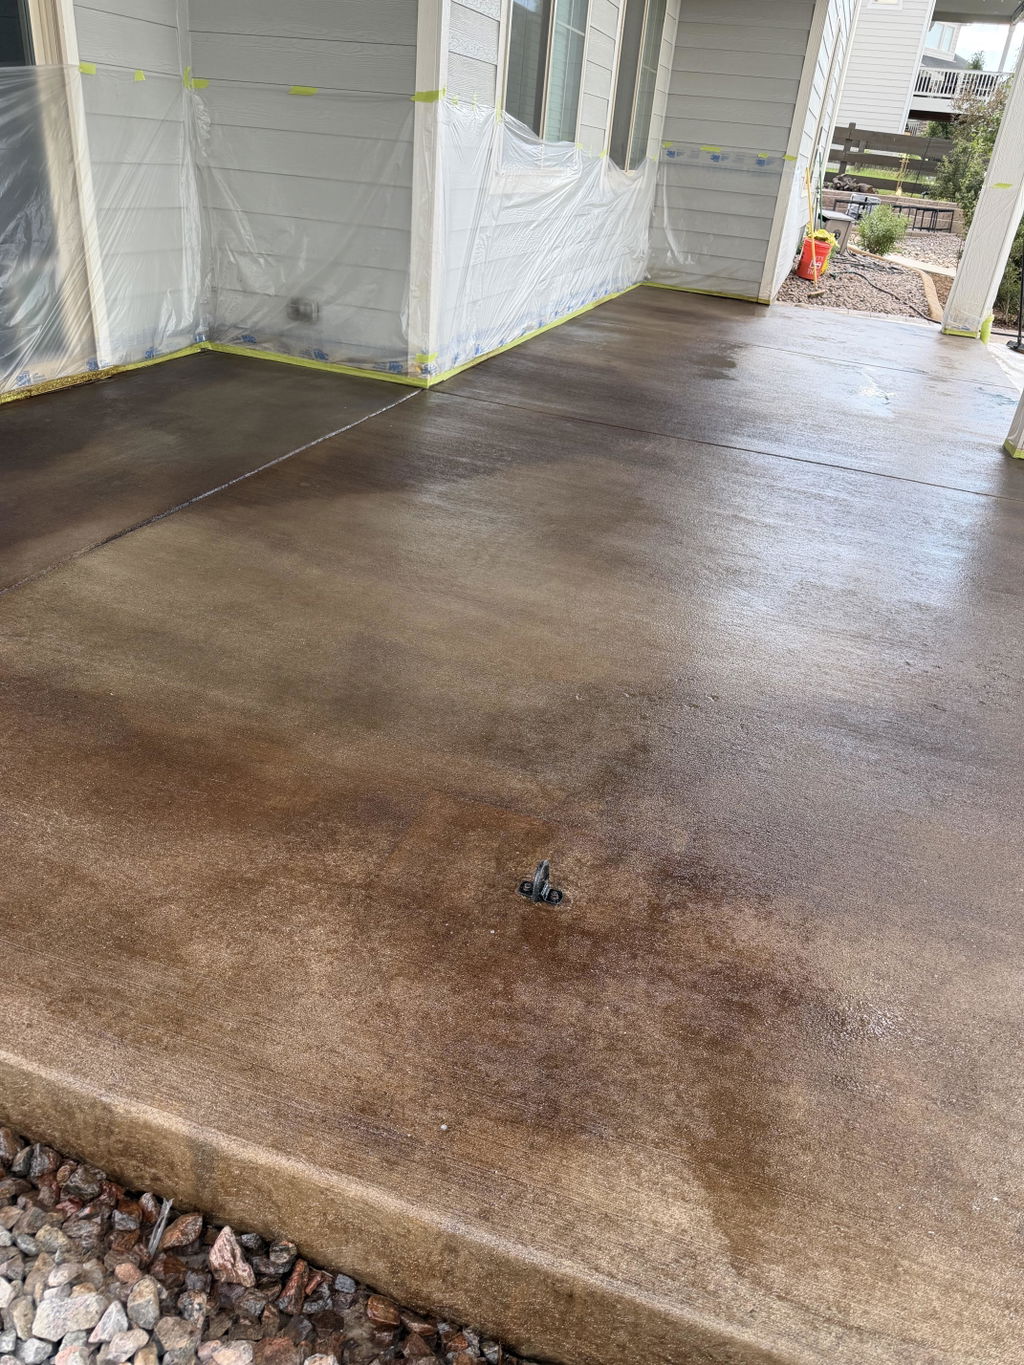
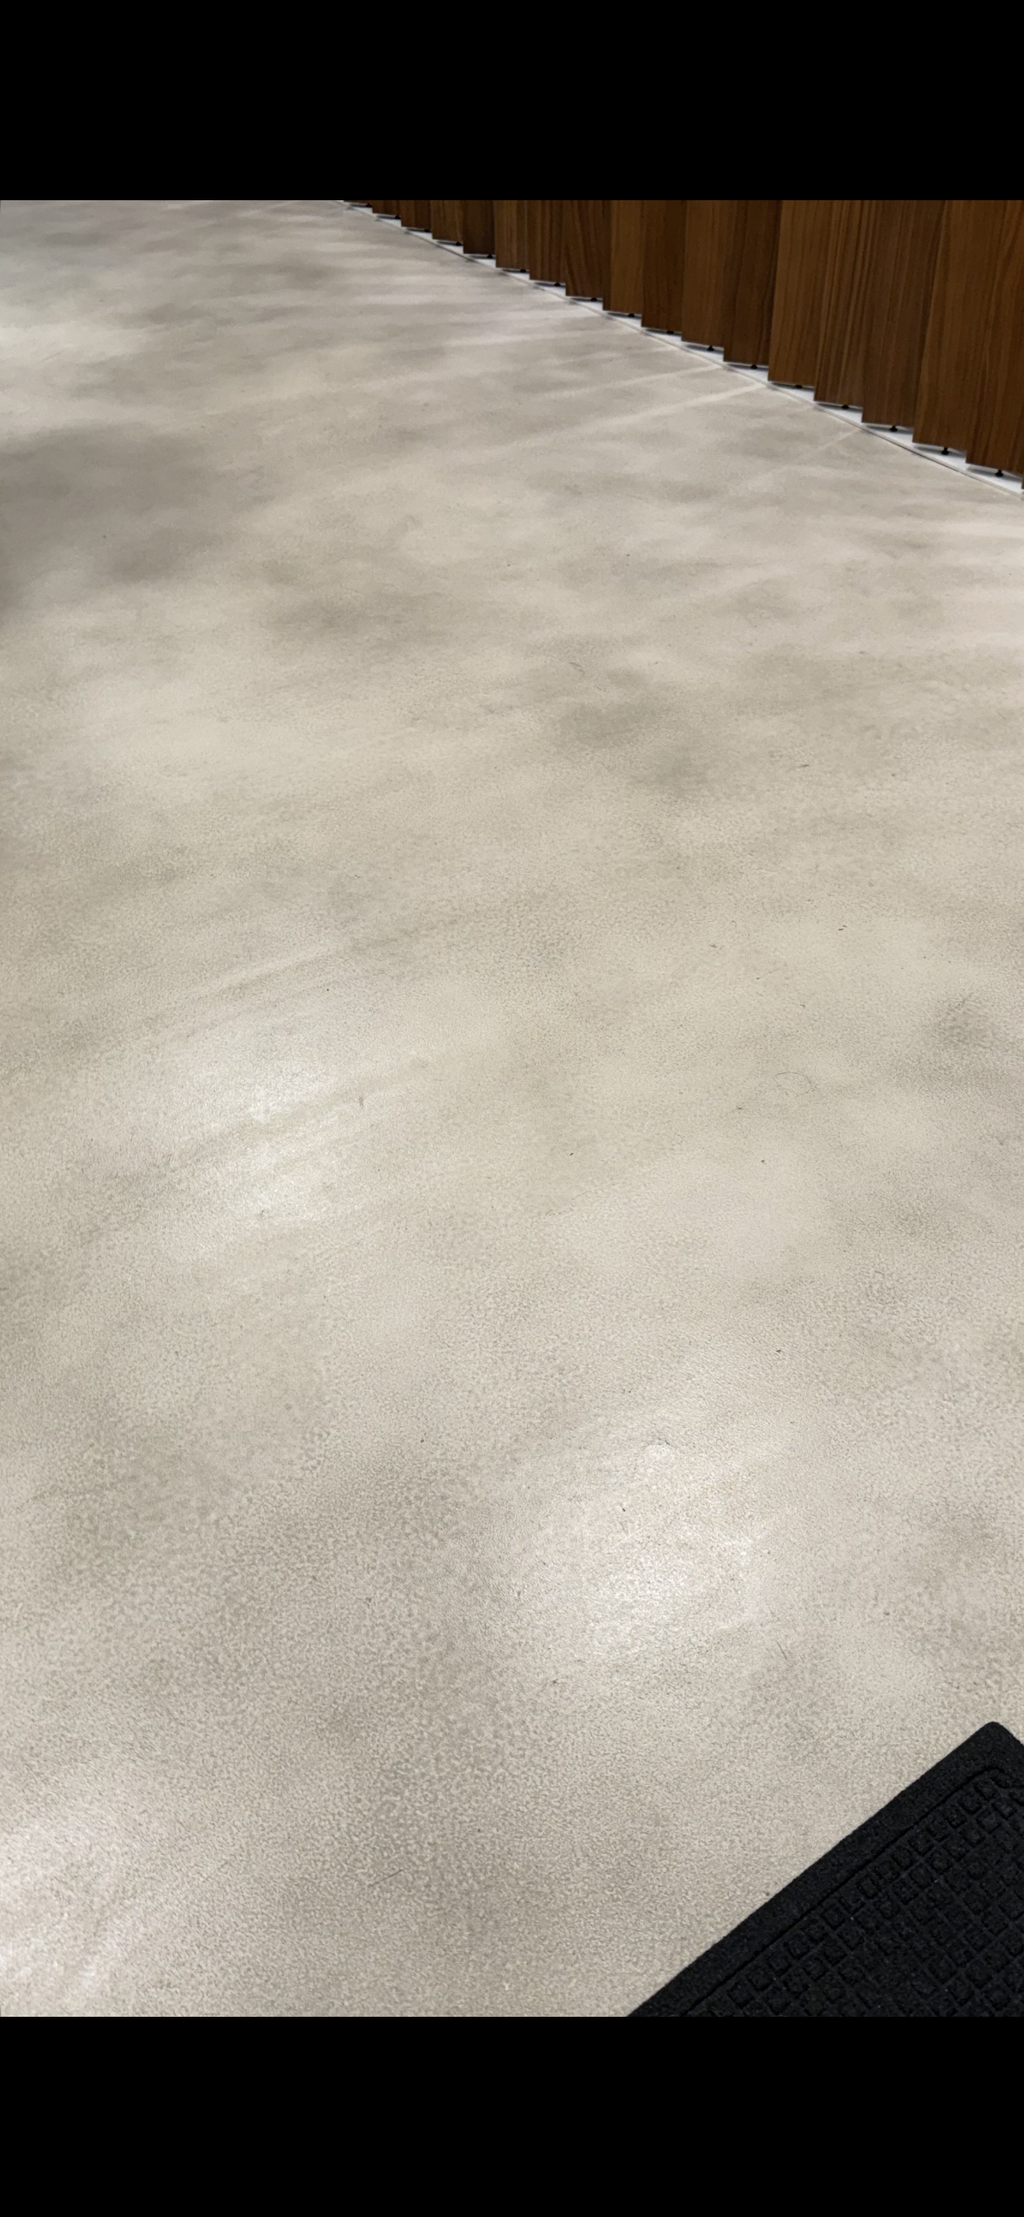
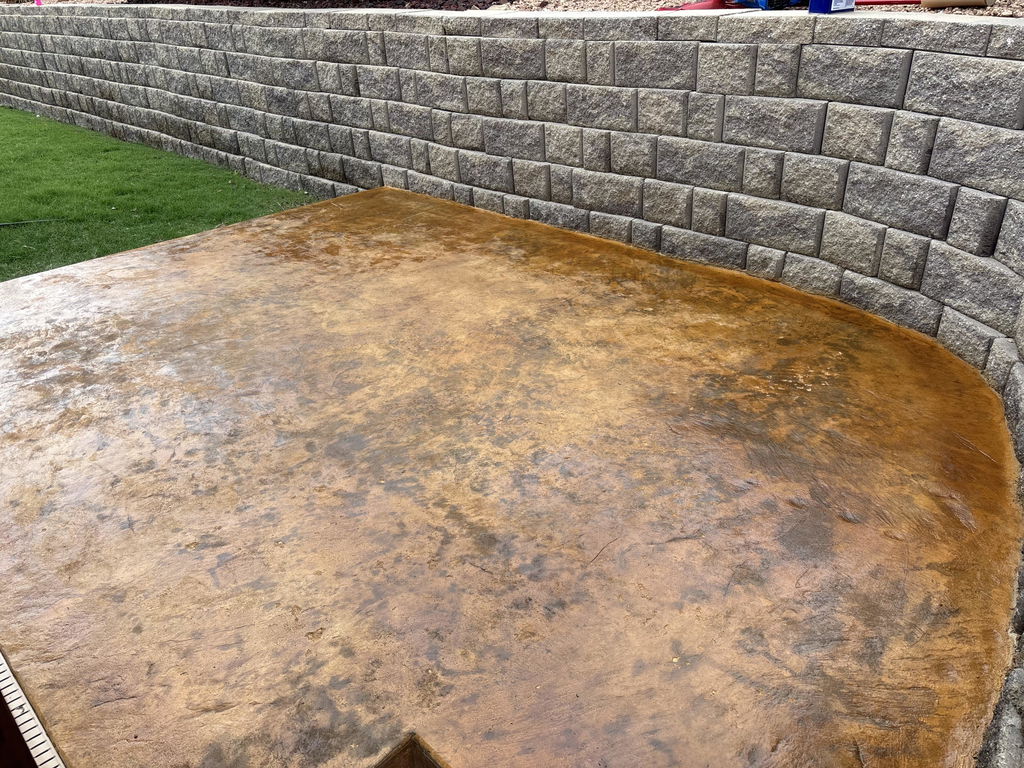
Create dramatic movement, depth and visual dimension with metallic epoxy.

Add decorative color flake for texture, visual coverage and a classic garage-floor appearance.
Clean, repair and properly profile the concrete so your coating can bond.
Apply the appropriate epoxy coating system according to the product instructions.
Choose solid color, create a metallic effect or broadcast decorative flake.
Complete the system with the recommended protective topcoat.
Enter your project size, choose Standard or Extended Work Time Epoxy, select the finished floor you want, and we'll build the estimated system layer by layer.
Measure the length and width of the concrete area.
Select the epoxy used for the base coat and, when your system includes one, the separate metallic or clear epoxy coat.
CR‑531 is the preferred choice for most base coats. Choose CR‑533 for metallic coats or whenever you need additional working time to spread, blend, and finish the epoxy—especially on larger floors or in warmer application conditions.
Select the finished appearance you want.
Select the colors used in each layer of your floor.
The base-coat epoxy kits receive the selected Solid Color Epoxy Pigment.
Liquid Nebula is added only to the epoxy kits calculated for the metallic coat.
The epoxy base coat is tinted with your selected Solid Color Epoxy Pigment before broadcasting flake.
Epoxy exposed to sunlight must receive a UV-protective topcoat.
Select additional protection and your desired finished sheen.
If the floor receives sunlight, a UV-protective topcoat is required.
The calculator separates the base coat, decorative coat and protective layers so you know what each product is for.

Epoxy is only as strong as the surface underneath it. Concrete must be clean, sound and properly prepared before a coating system is applied.
Professional-looking epoxy floors start with proper preparation, accurate mixing and the right application tools.
Review the basics below, then consult the current Technical Data Sheet for the exact products used in your system.
Surface preparation is one of the most important parts of a successful epoxy installation. The concrete must be clean, sound and prepared according to the requirements of the coating system being installed.
Existing coatings must be evaluated before applying a new system. Loose, failing or incompatible coatings may need to be completely removed before the concrete is recoated.
Solid-color epoxy creates a more uniform finished appearance. Metallic epoxy creates movement, depth and variation, so each finished floor develops its own unique look.
Decorative flake adds color variation and visual texture to a coated floor and is especially popular in garages, workshops and utility spaces.
The required coating layers depend on the specific system being installed. Follow the Technical Data Sheet for each product to determine the correct base coat, decorative layer and protective topcoat.